


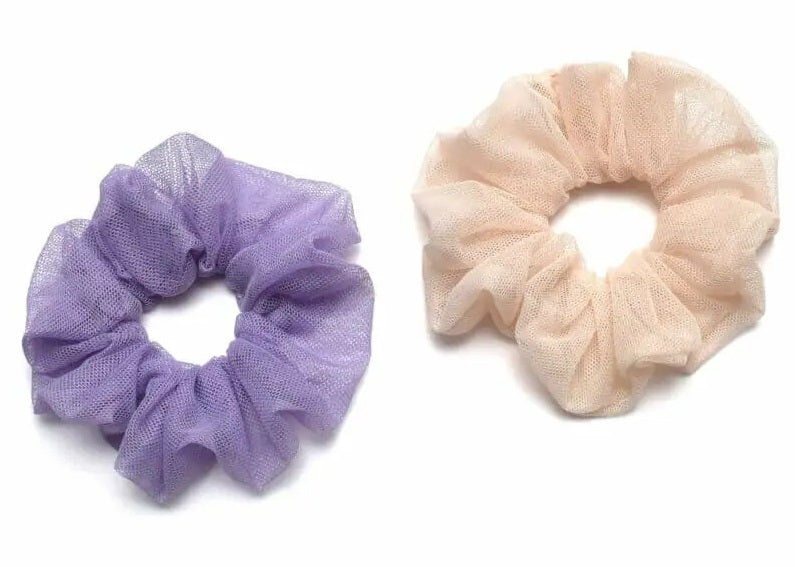
How to make tulle scrunchies. Step-by-step tutorial
Tulle scrunchies tutorial – sewing supplies
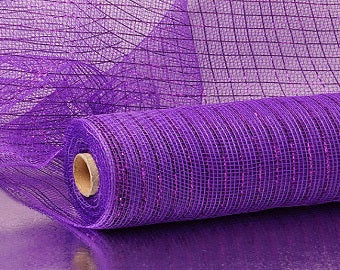
- soft tulle, mesh tulle
- sewing machine
- jersey/ballpoint needle
- sewing pins
- 1/8 inch elastic
- safety pins
- matching thread
DIY tulle scrunchies – step-by-step instructions
Step 1
First, cut a piece of tulle with your scissors or rotary cutter that is anywhere from 20 to 30 inches long and 4 inches wide.

You can increase or decrease the length of the tulle piece as you like, depending on how many folds you want your scrunchie to have.
For this scrunchie, I used a piece of tulle measuring 25” x 4”.
Step 2
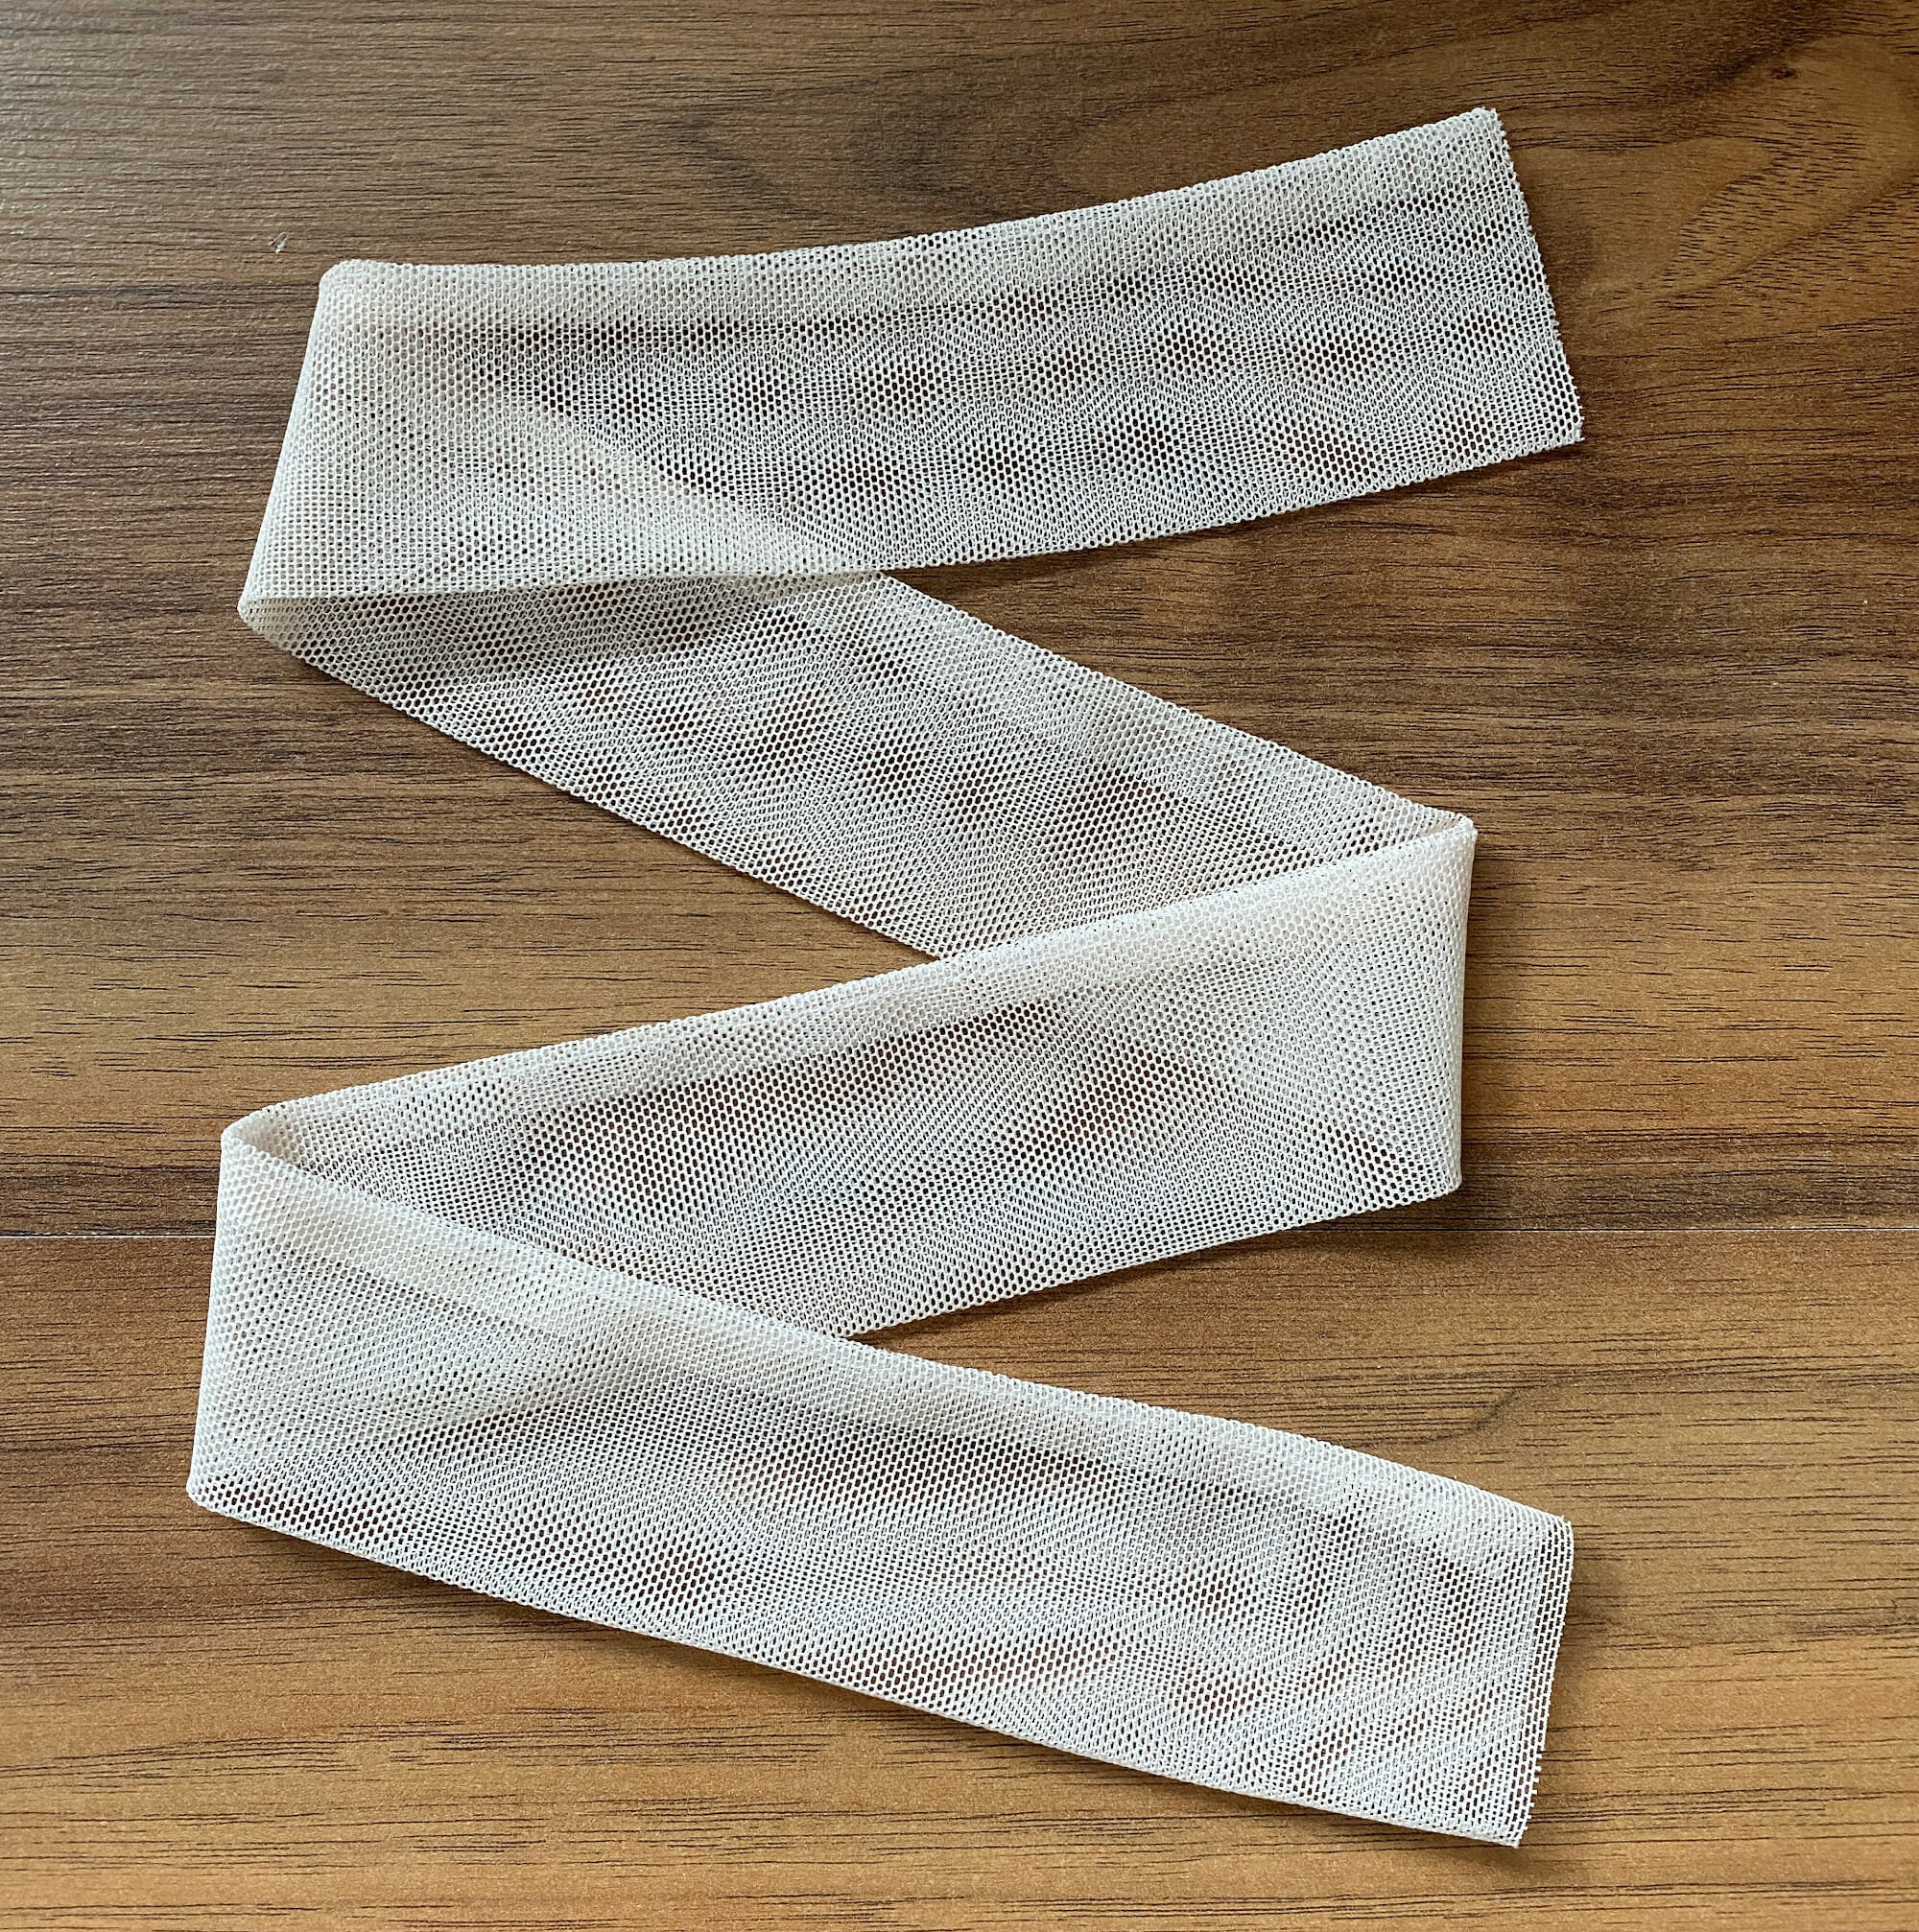
Now, fold your tulle rectangle lengthwise and sew down the length of the tube. Use a narrow 1/4” seam allowance (or 3/8” if you are a beginner) to make a tube with two open ends.
Do not start stitching at the very edge or else your sewing machine may try to eat this lightweight fabric. Backstitch when you begin and end the tulle seam.The size 70/10 jersey/ballpoint needle that worked fine for the soft tulle scrunchies simply refused to sew mesh tulle without skipping stitches.
Apparently, stretch needles are better for sewing very stretchy fabrics. However, it’s a good idea to test your stitches with both needles (jersey and stretch) on your fabric before starting your project.
Tulle can be a little tricky to sew – in this article, you’ll find my best tips for sewing tulle on your regular sewing machine.

Step 3
Turn the tube inside out. I usually take a safety pin, attach it to the seam allowance, then push it through the tube to the other side. Press your tulle tube with an iron set at the lowest temperature.
Step 4
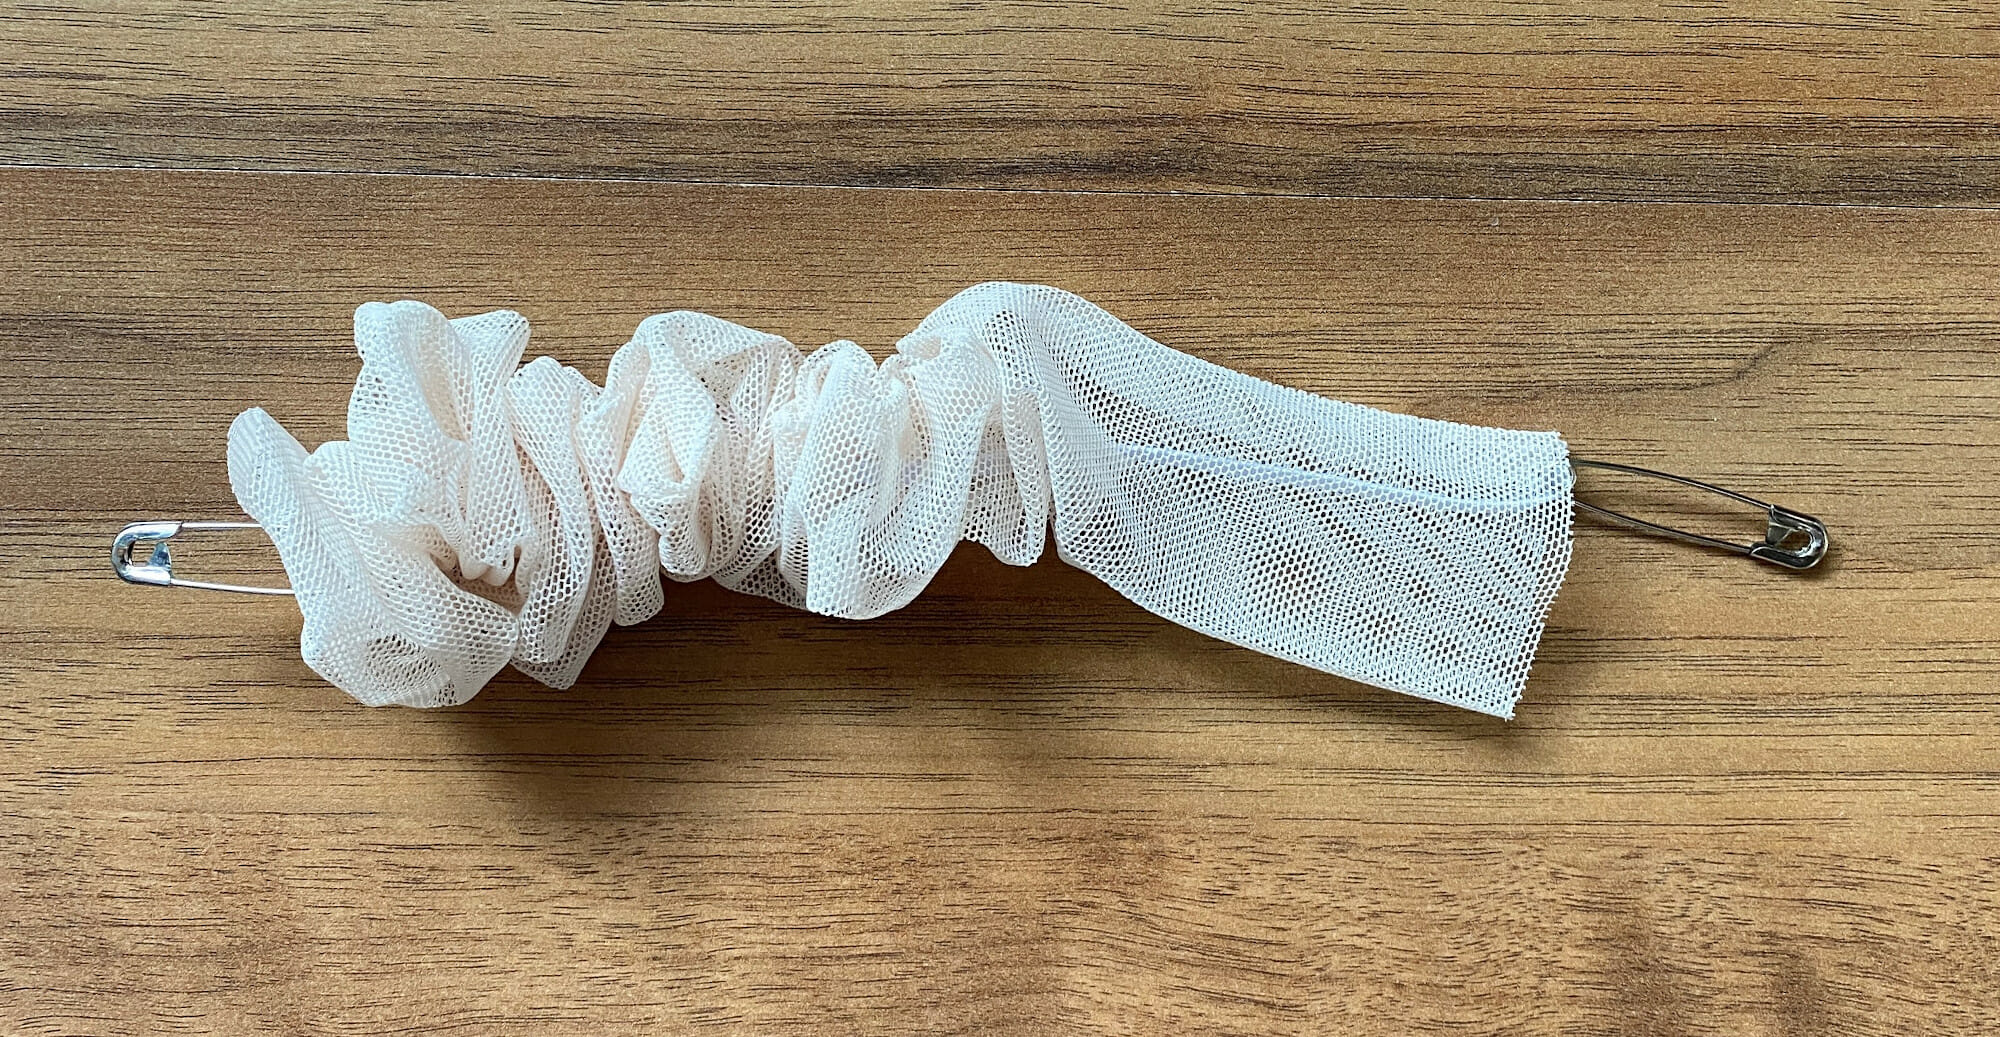
Cut 6 inches of 1/8” elastic. Take one safety pin and secure the elastic at the end of the tulle tube. (Because you don’t want to lose the elastic into the tube.)
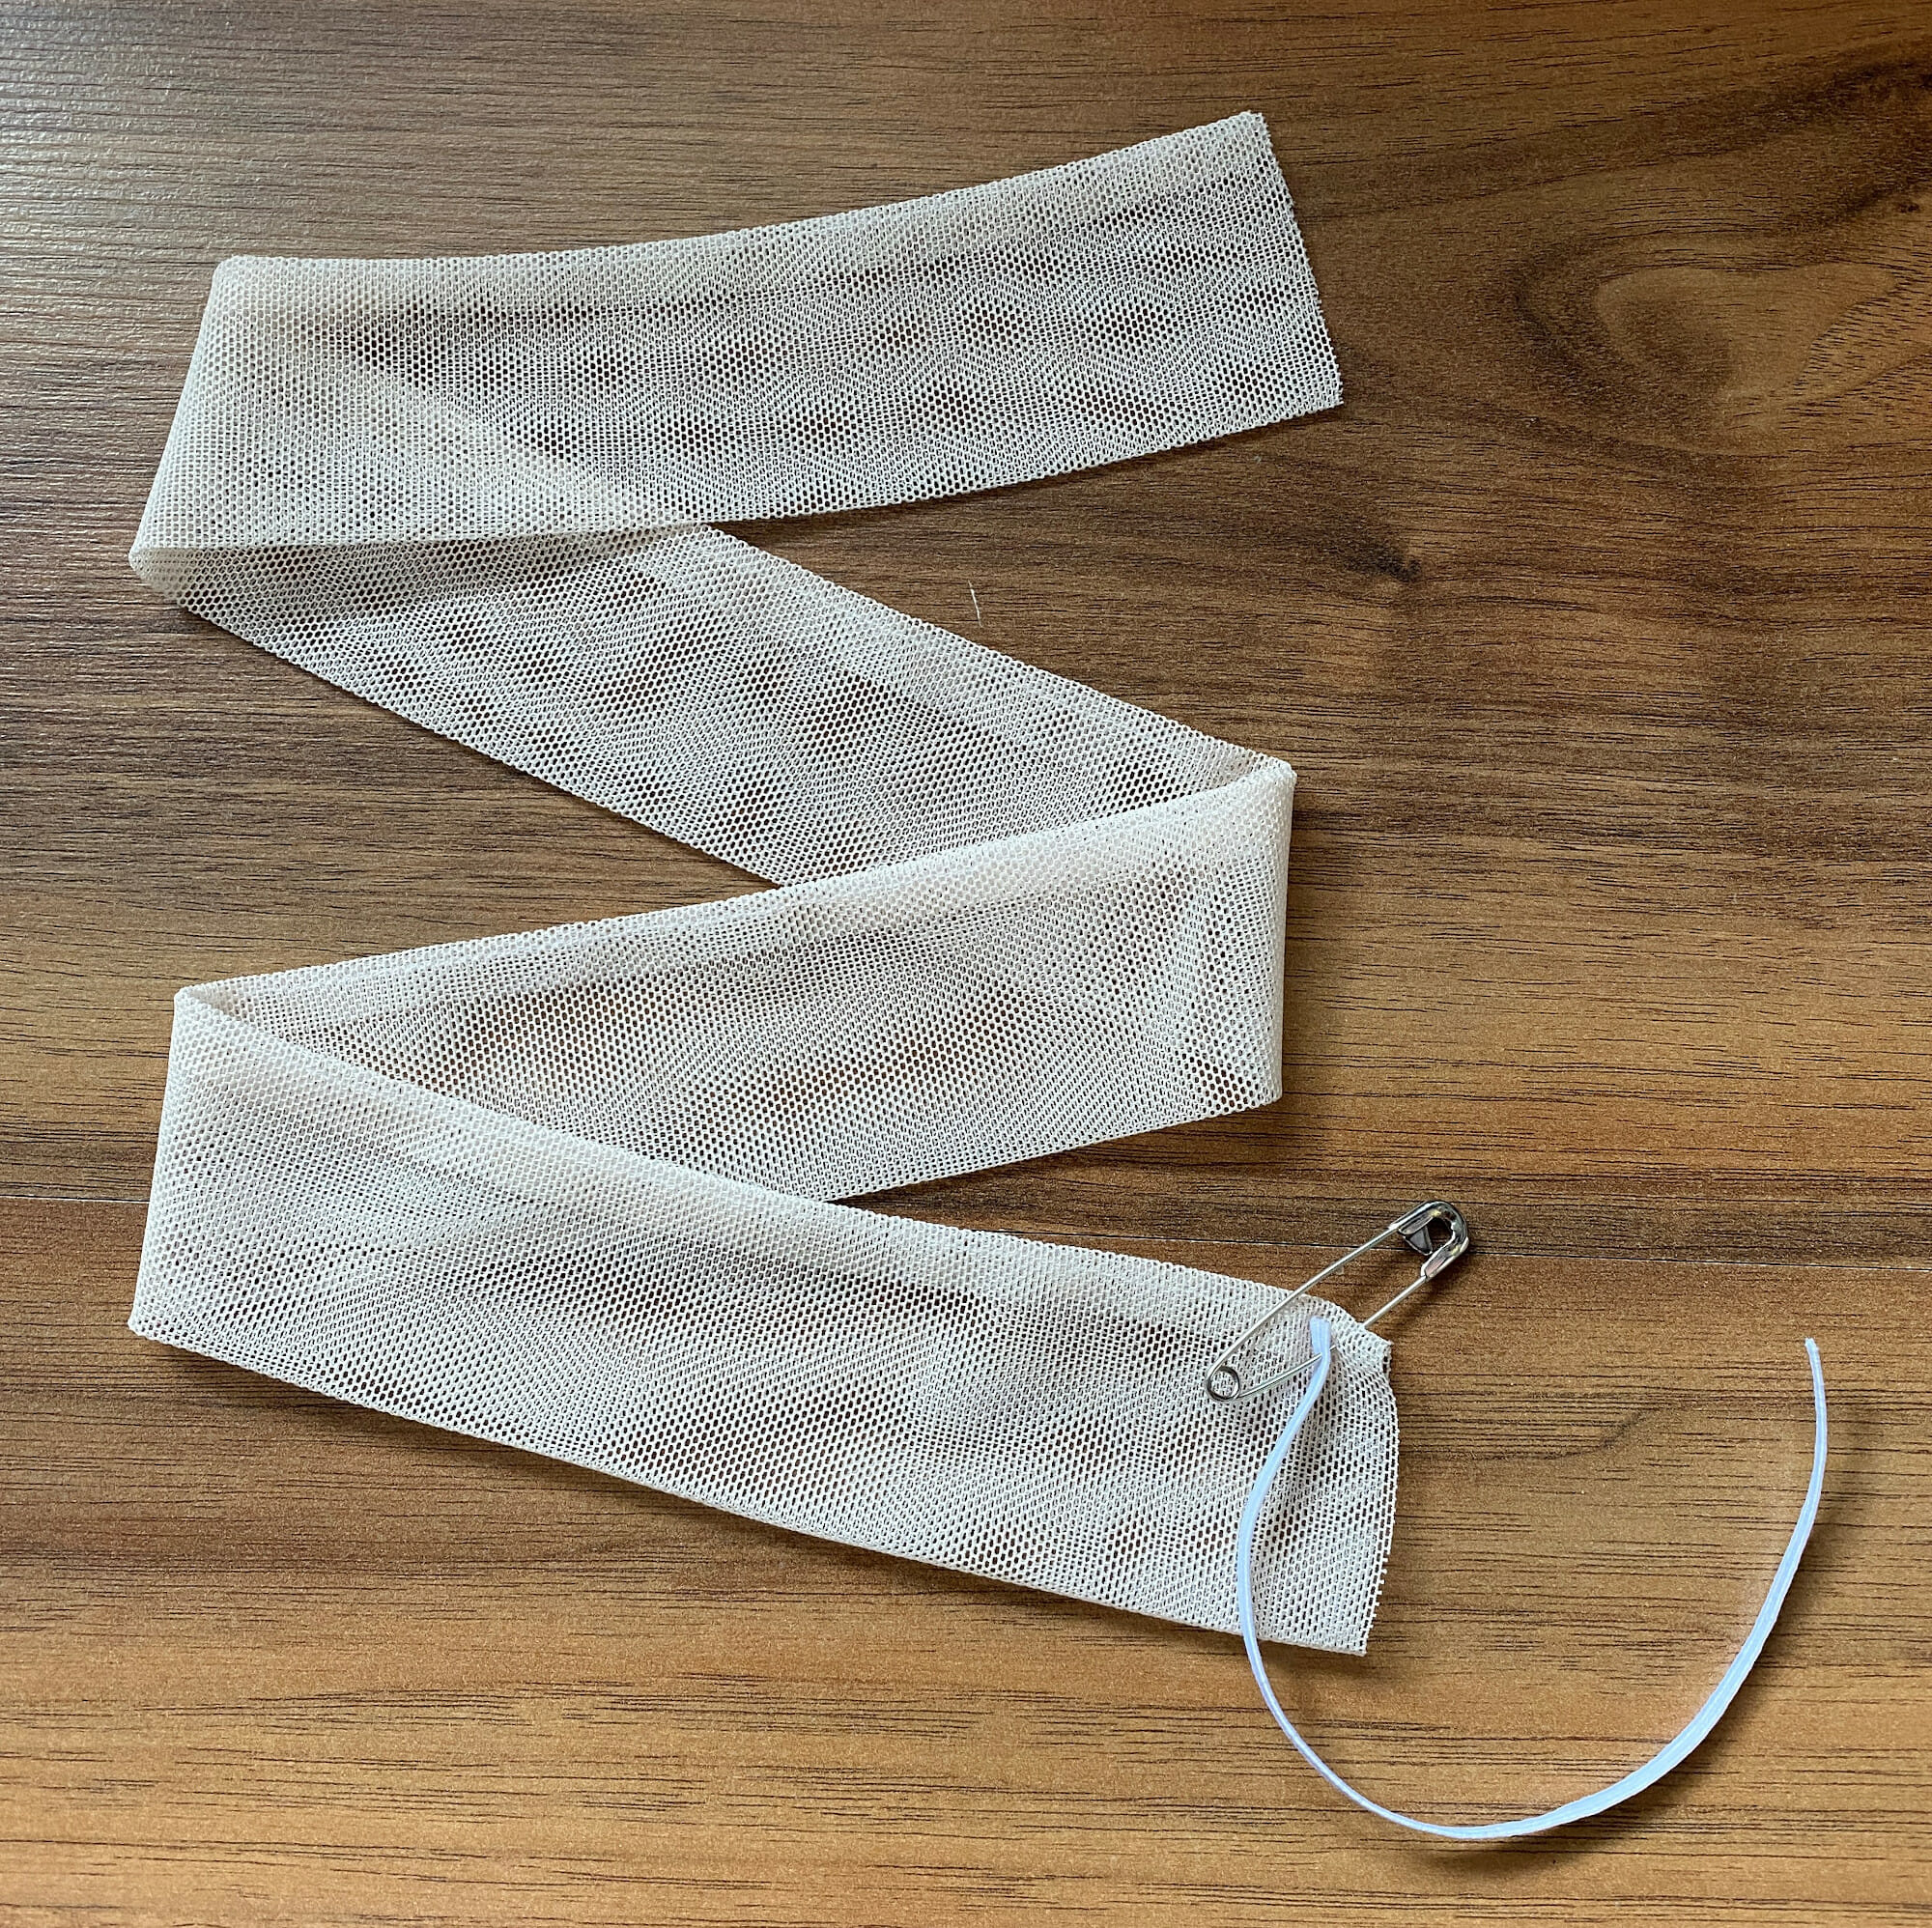
Then take another safety pin, attach it to the other end of the elastic and thread it through the tube.
Step 5
Tie the two ends of the elastic together. Of course, you can sew both ends of the elastic together, but the fastest way is to tie the elastic. After that, push the elastic back into the tube so the knot is hidden inside.
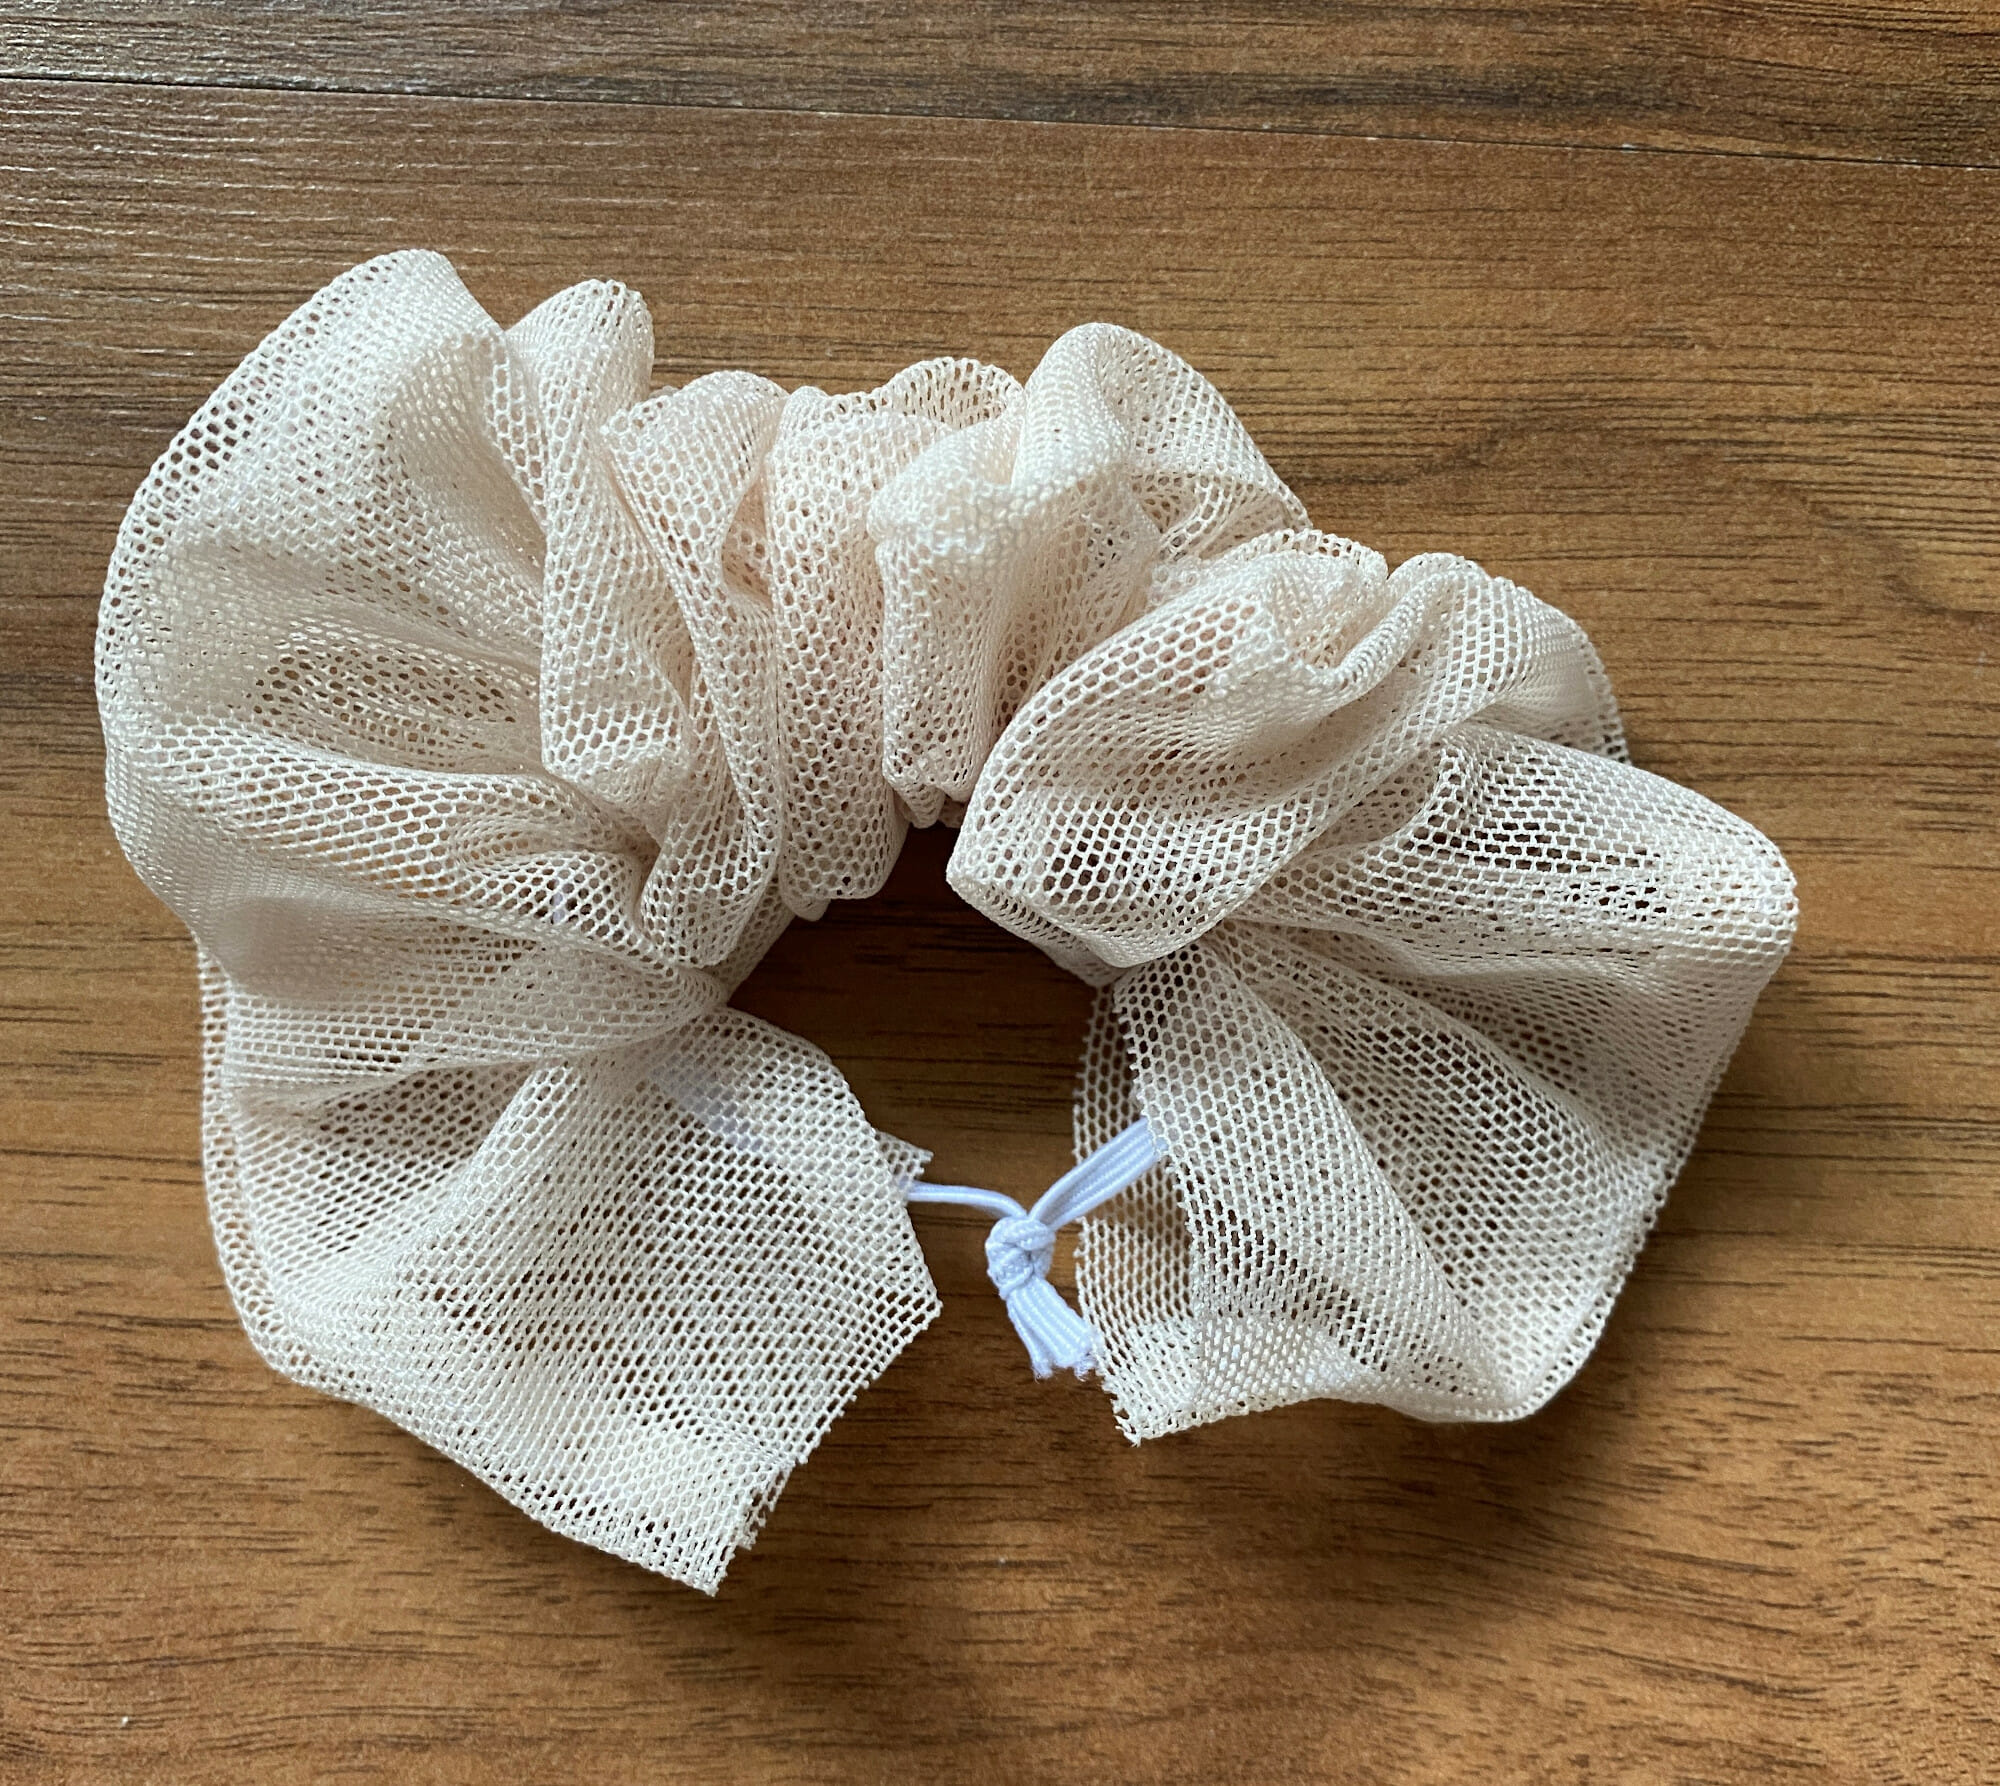
At this point, you can try the tulle scrunchie on your hair and see if it’s a good size for your hair. If it’s too big or small, adjust the elastic length accordingly.
Also, if you want to use pompoms or small flowers, now is the time to put them into your tube.
Step 6
Now, straighten the tulle fabric to make sure the seam is not twisted. The seam should be in the same position all the way around the scrunchie.
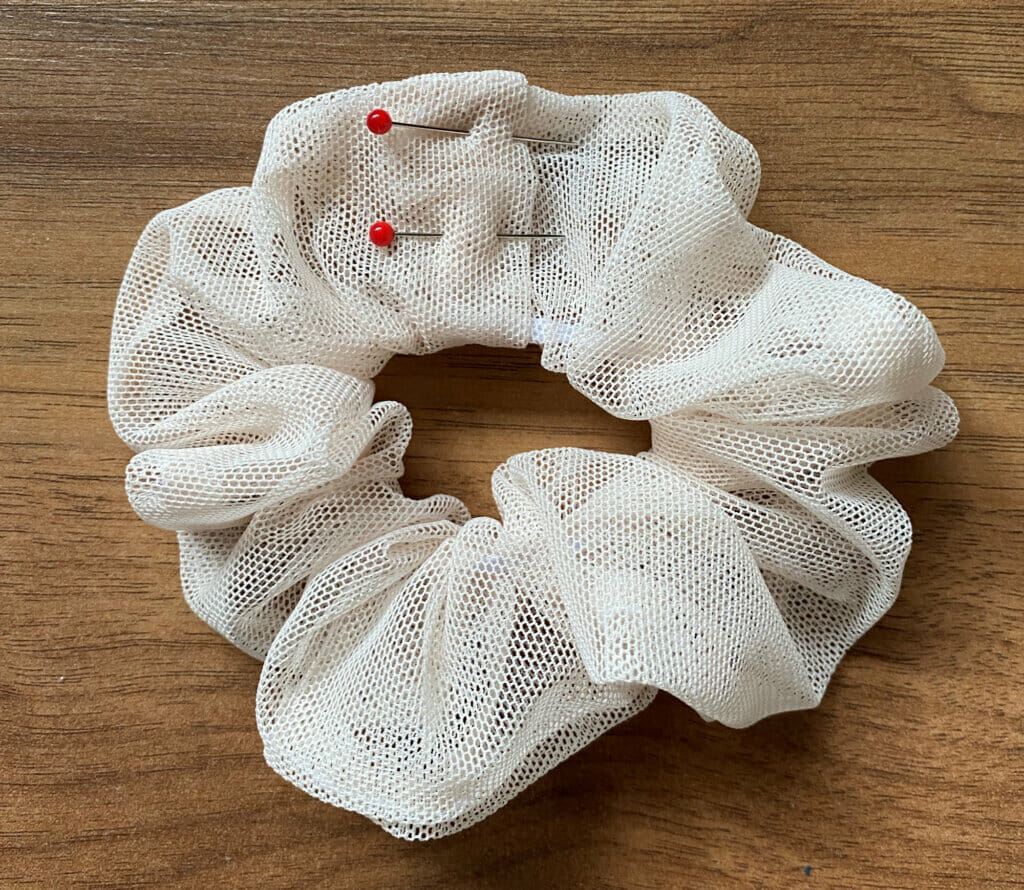
Fold one short end of tube 1/2″ toward the wrong side. Finally, let’s bring the tube edges together and finish this scrunchie. Put the raw end of the tube inside the folded end and overlap by 1/2″ so the inside raw edge is hidden.
Make sure the tulle seams line up and use one or two pins to secure the overlapped ends. Sew to close the gap. Again, backstitch at the beginning and at the end of the seam. I like to stop just before I reach the elastic – something I wouldn’t be comfortable doing with a cotton scrunchie, but tulle doesn’t fray, so it’s a safe bet.
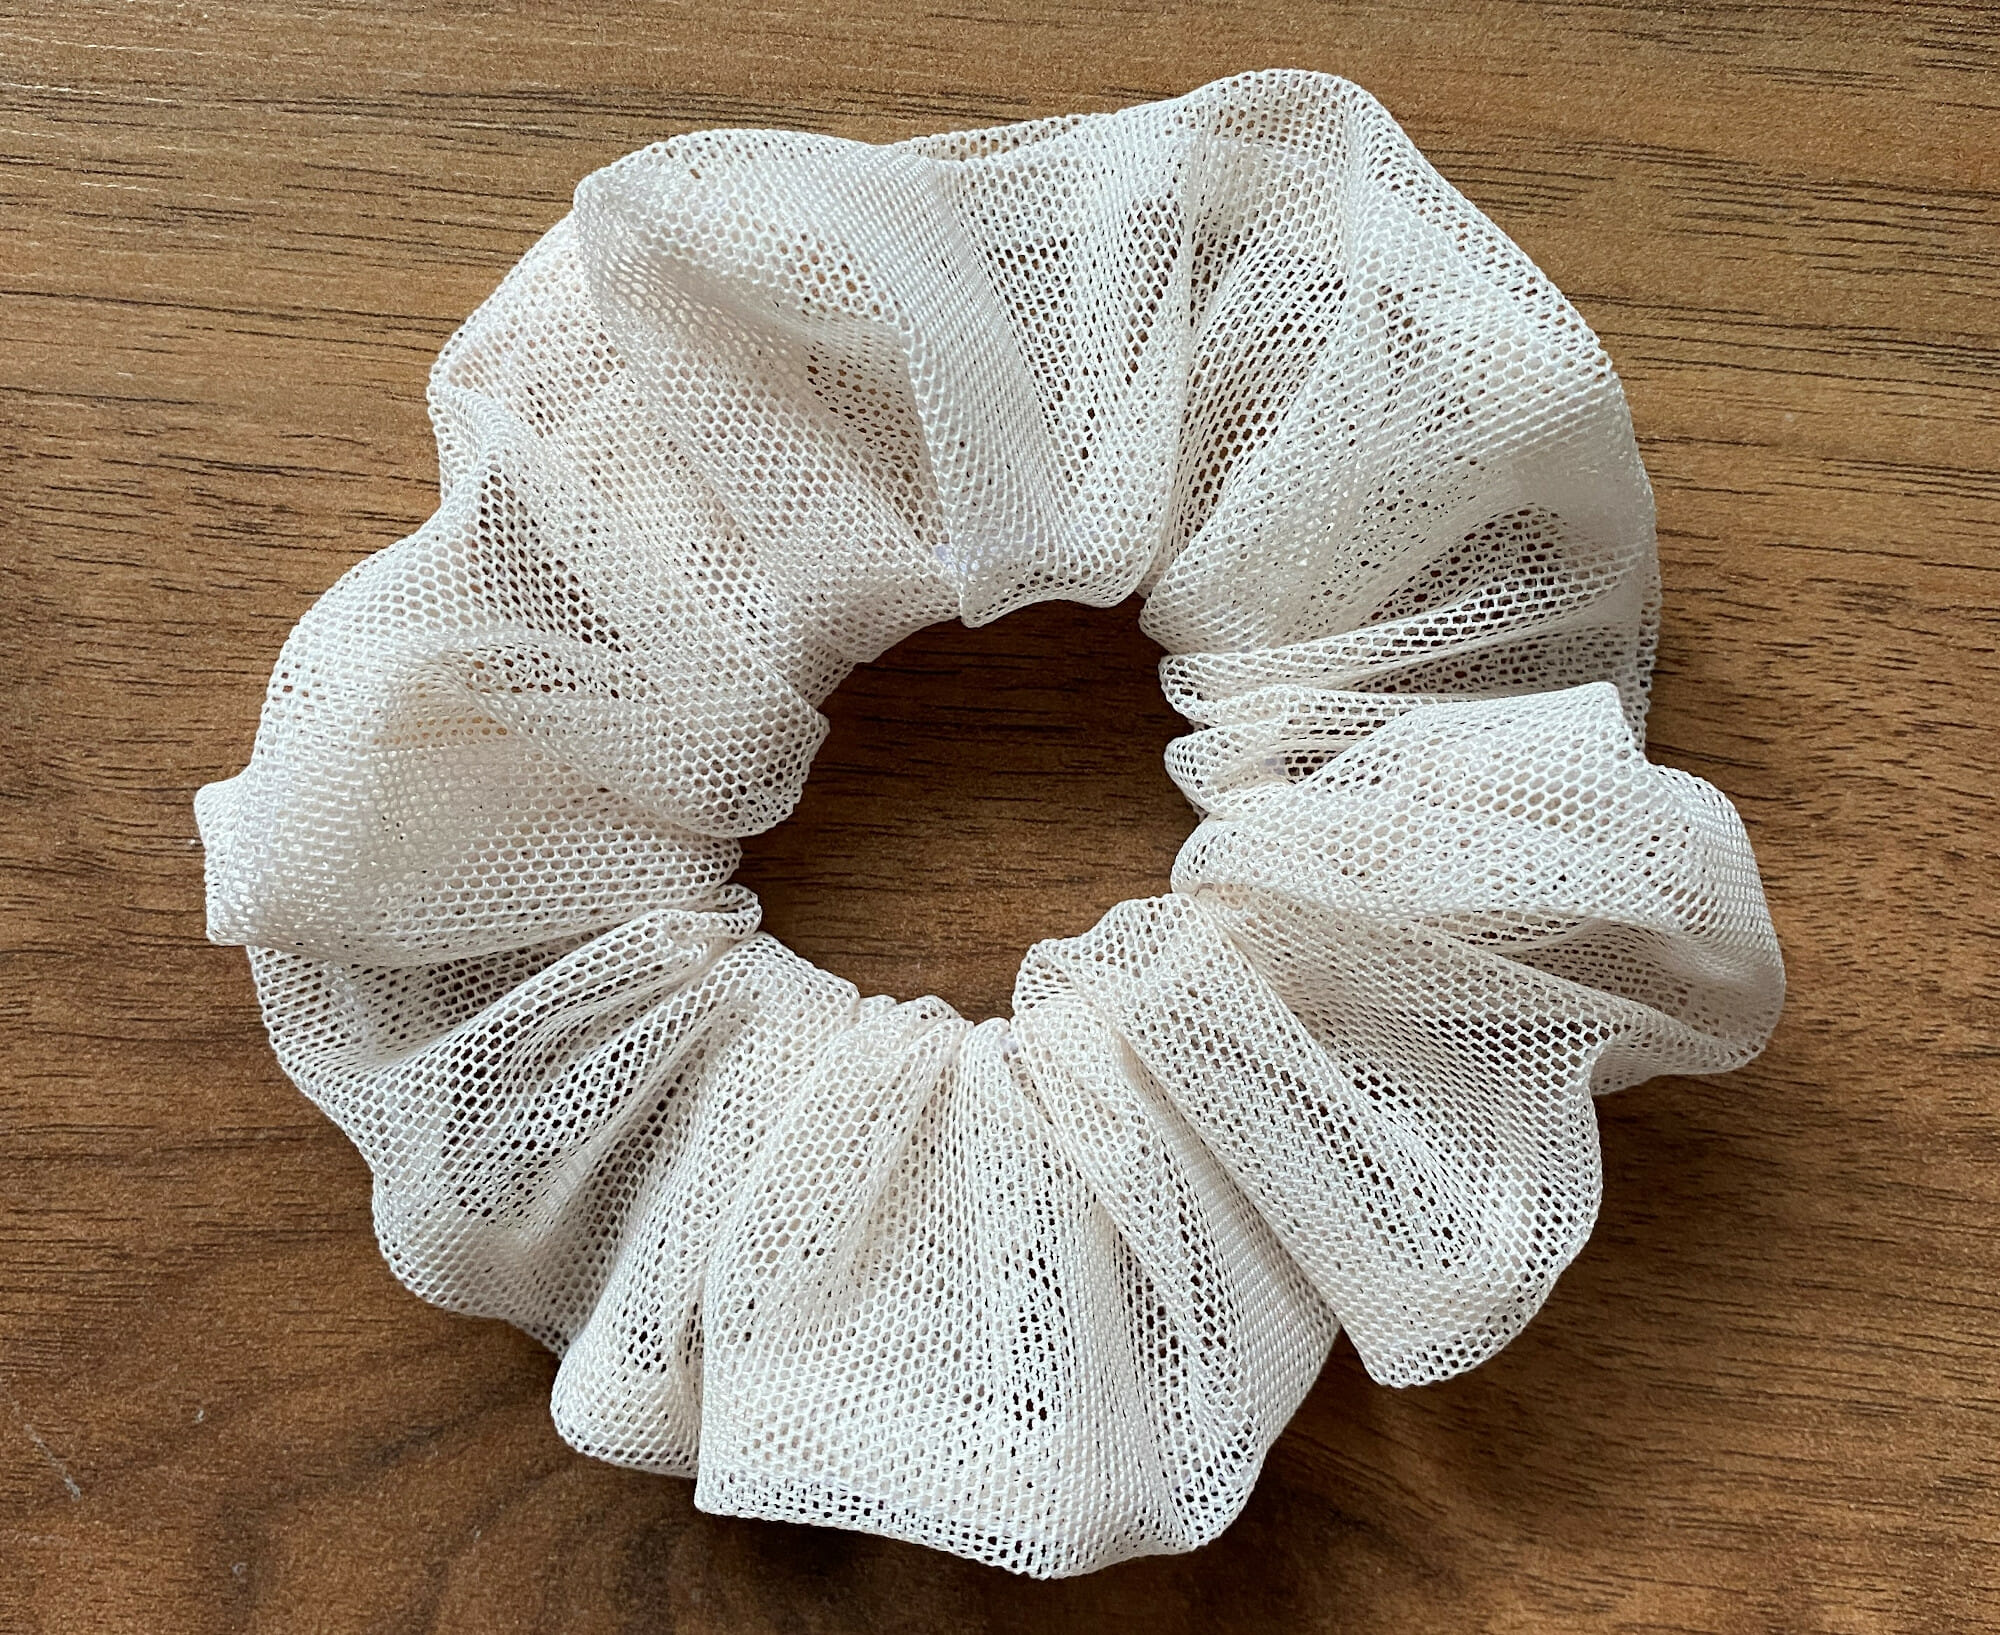
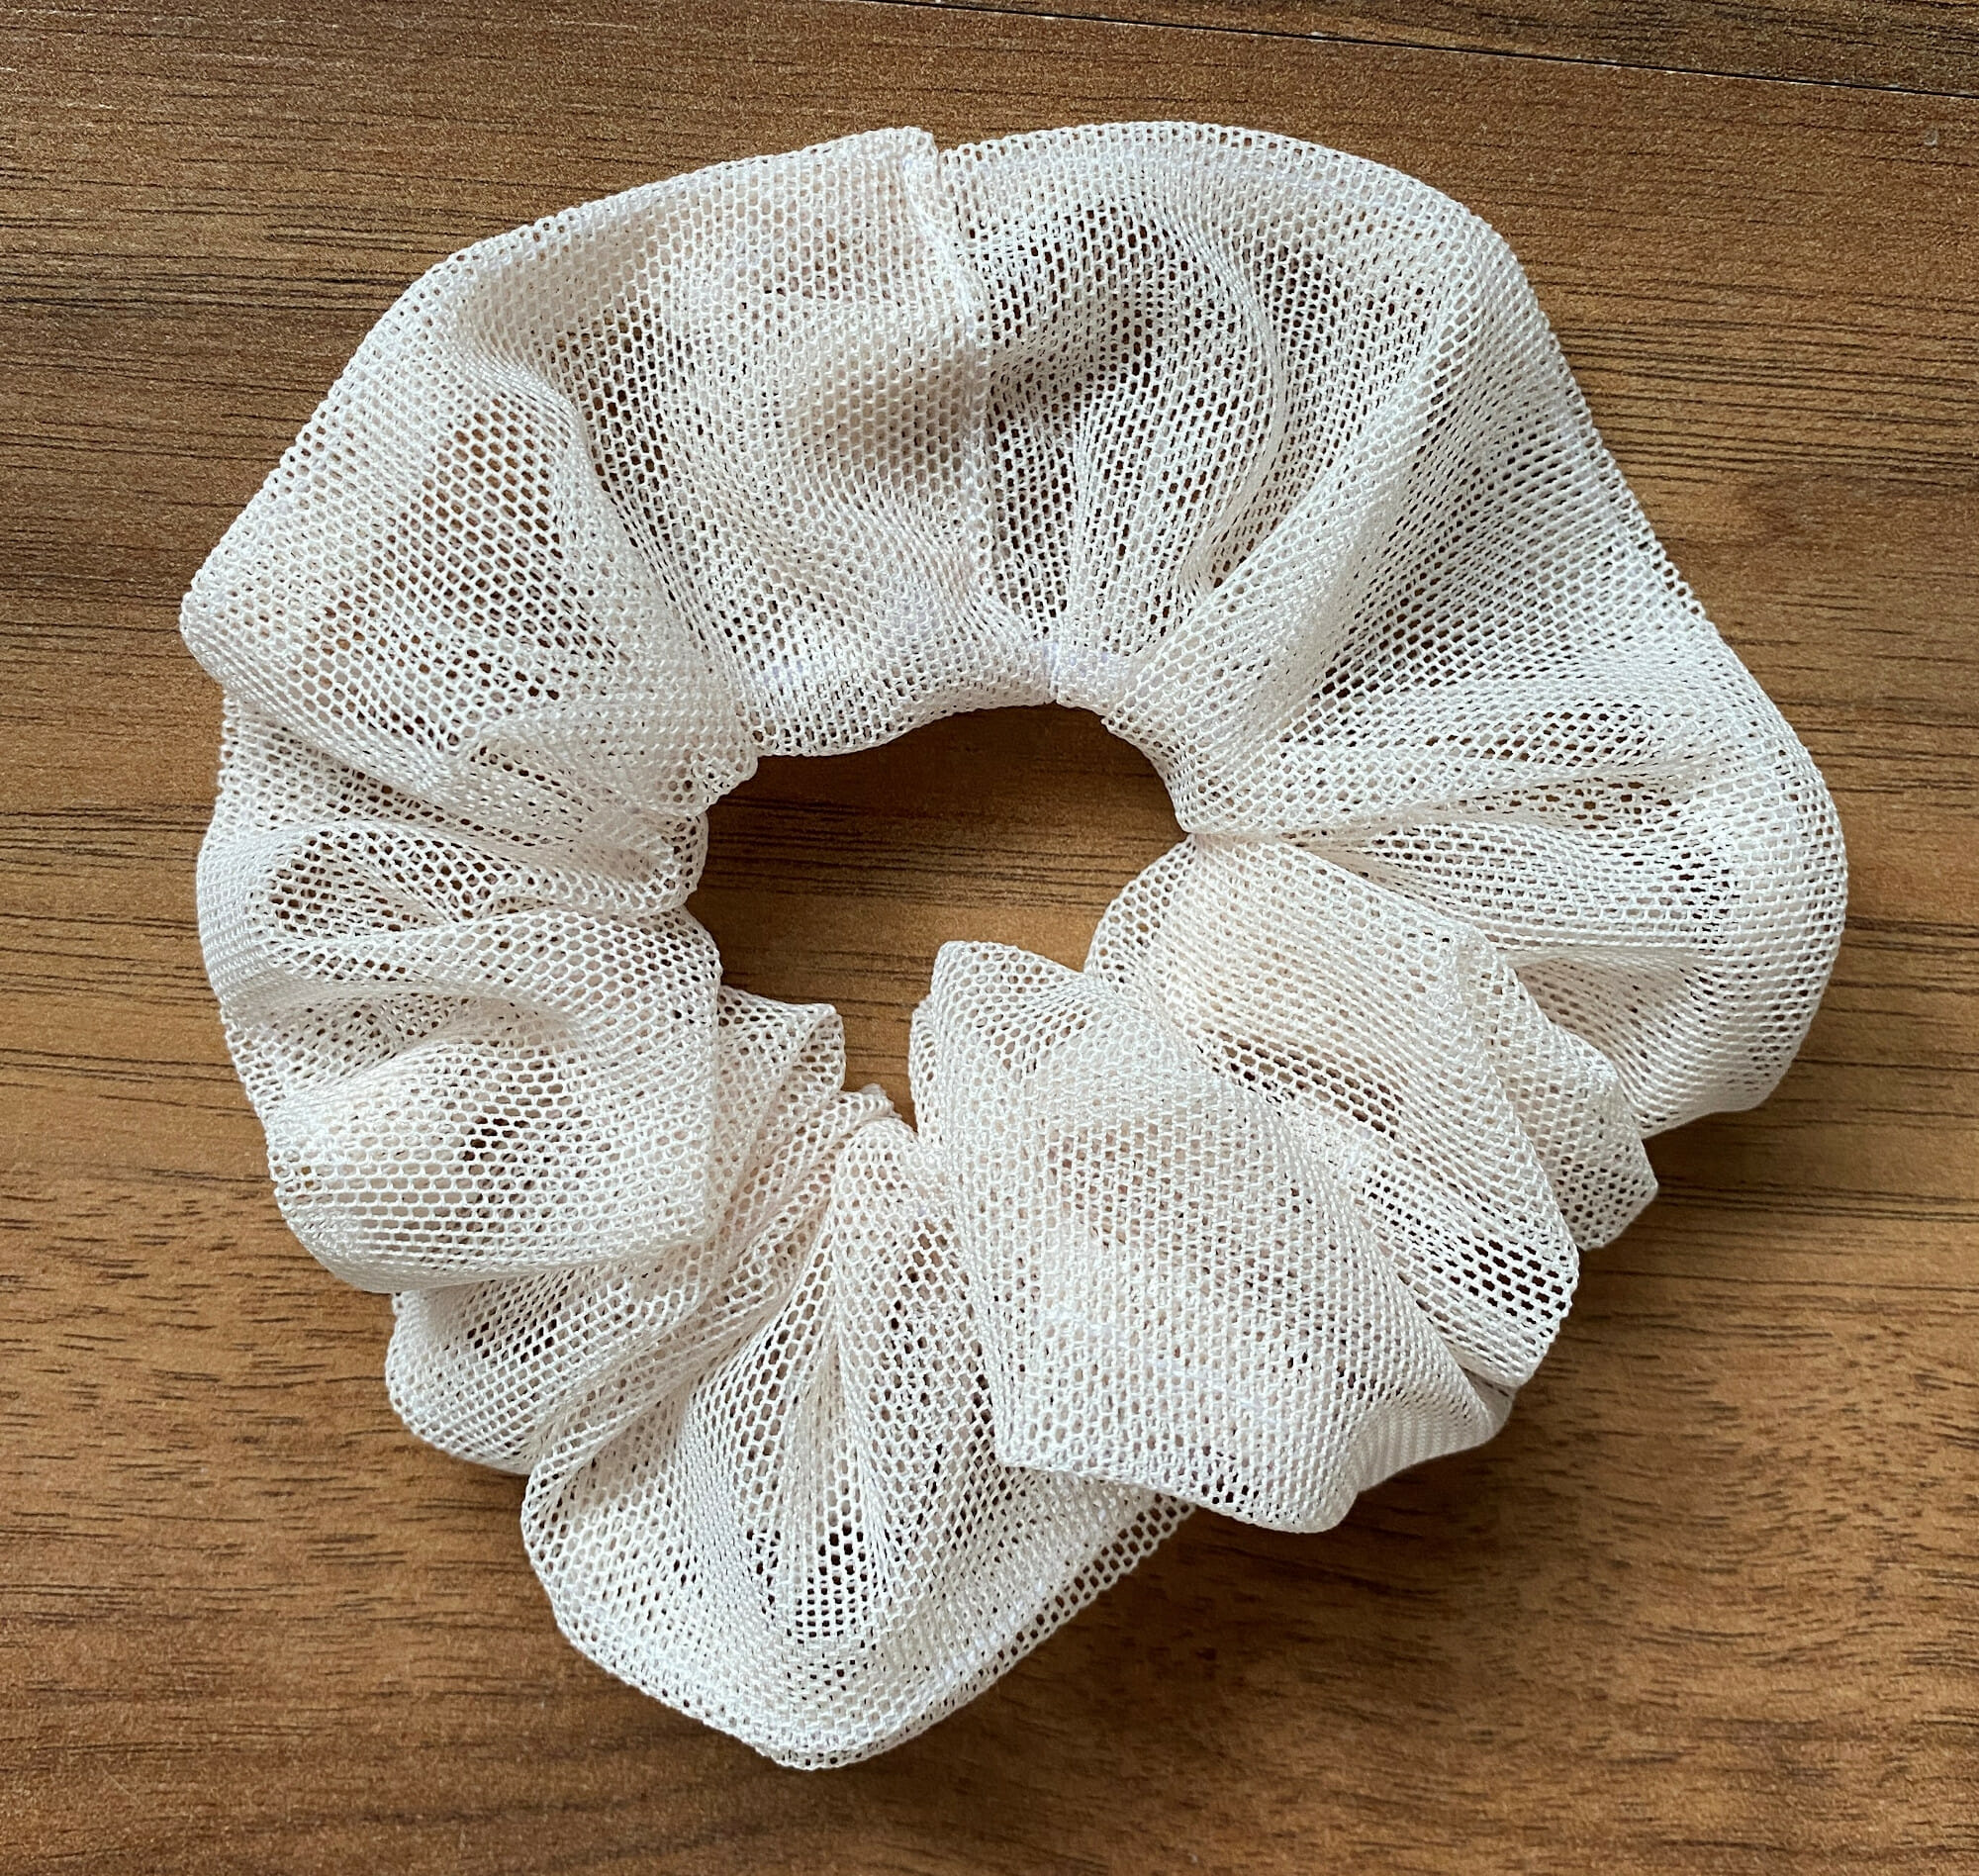
Now puff and fluff your tulle scrunchie and you are done! This is such a satisfying and quick sew, am I right?


Please upload banner from store admin blog pages

